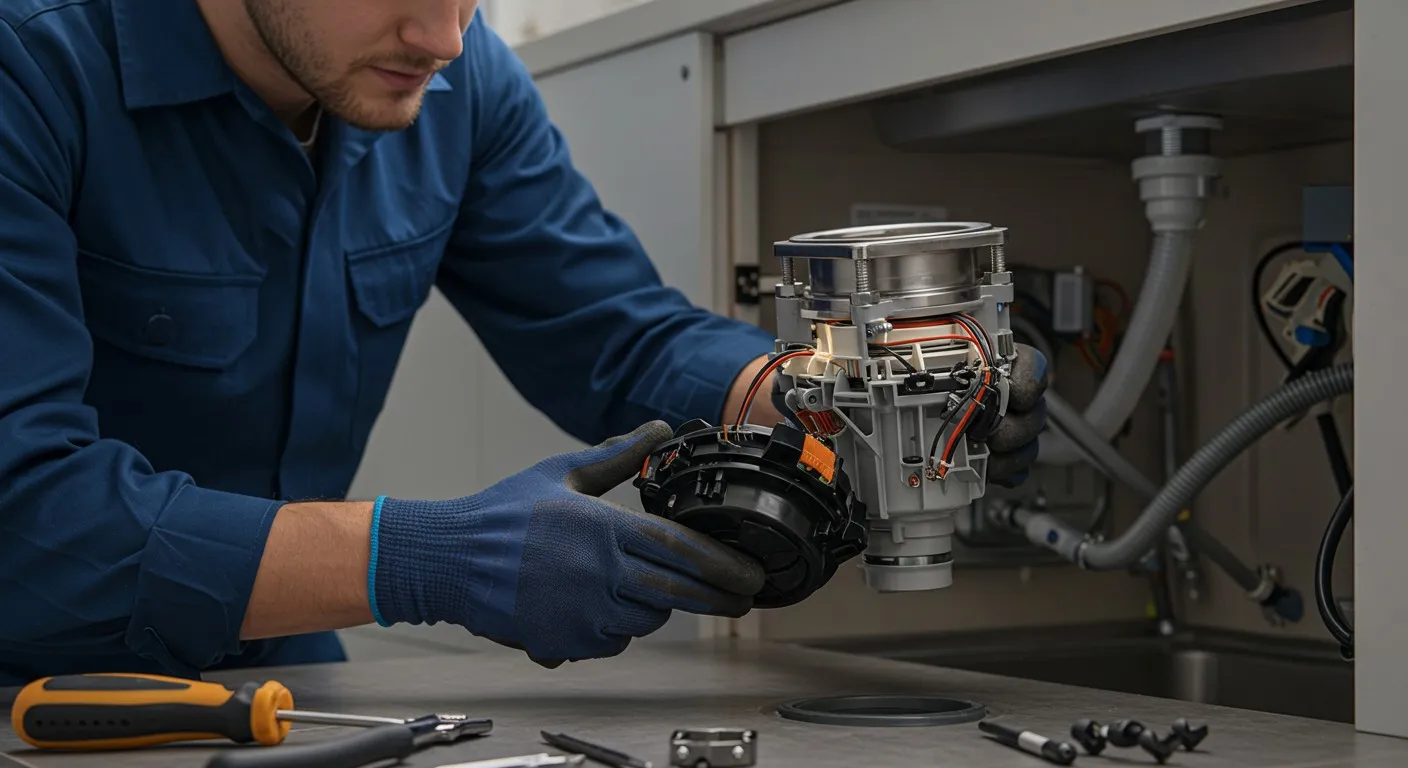
How to Keep Your Garbage Disposal Clean in 5 Simple Steps
Learn how to keep your garbage disposal clean in 5 simple steps with natural methods that prevent odors and extend its lifespan.


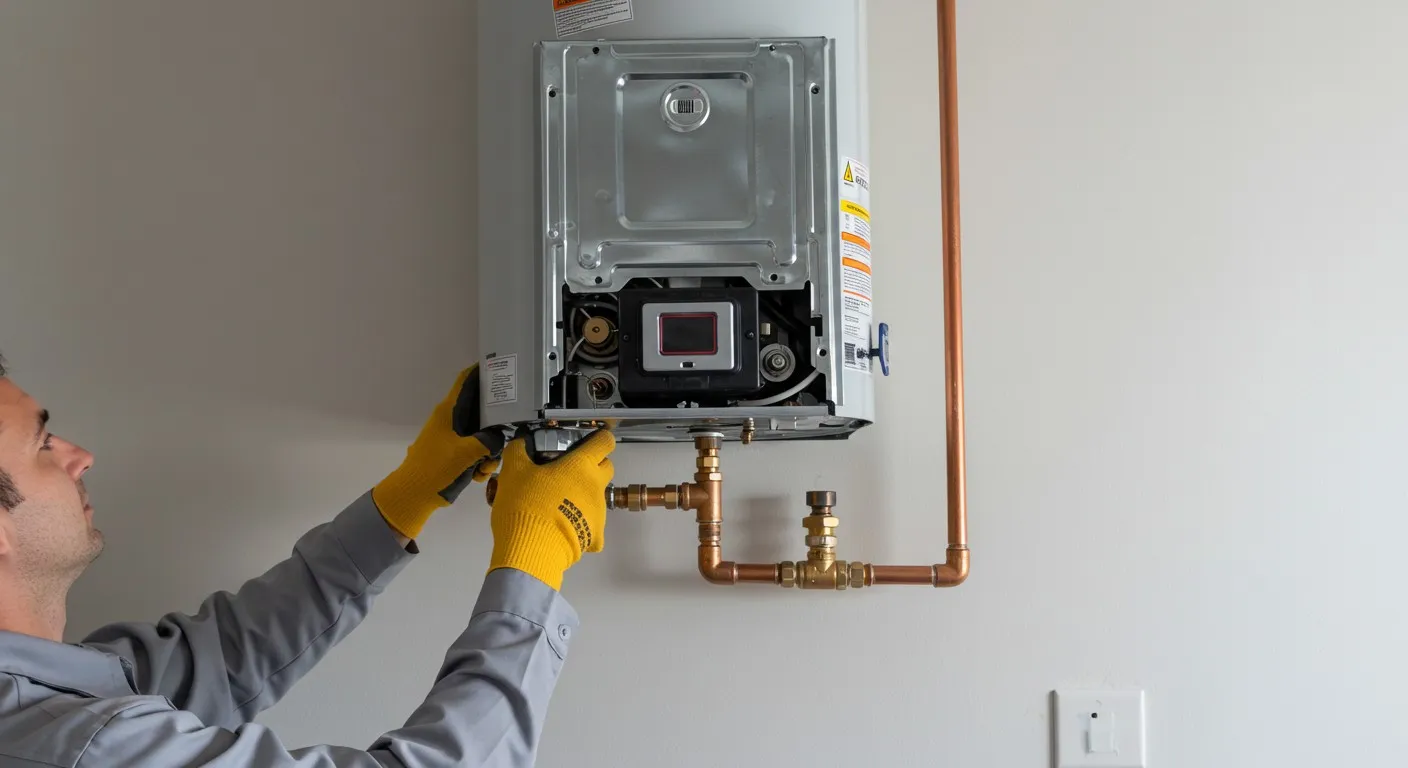
Installing a hot water heater is a crucial task that ensures you have a reliable supply of hot water for your daily needs. It's essential to approach the installation process with care, as a well-installed water heater can provide years of trouble-free service.
Before diving into the installation, proper preparation is crucial. The first step is to select the right type and size of hot water heater for your needs. Consider the hot water demands of your household, including the number of people and daily usage patterns. A tankless water heater might be ideal for continuous supply, while a traditional tank heater could be sufficient for smaller households.
Gathering the necessary tools and materials is the next important step. Ensure you have items like a pipe cutter, tape measure, plumber’s tape, and a wrench set. Also, check that you have the appropriate fittings and connections based on your selected water heater model. Adequate preparation can prevent unnecessary delays and complications during the installation process.
Installing a hot water heater can come with its share of challenges. One common issue is dealing with outdated or incompatible plumbing. Older homes may have plumbing systems that don't match the specifications of modern water heaters, requiring modifications or additional fittings. Our professionals are adept at identifying these issues early on and making the necessary adjustments to ensure a secure and efficient installation.
Another challenge is ensuring proper venting for gas water heaters. Incorrect venting can lead to dangerous conditions like carbon monoxide buildup. Our technicians carefully follow manufacturer guidelines and local building codes to install venting systems that are both safe and effective. We also use advanced tools to detect gas leaks and ensure that all connections are secure.
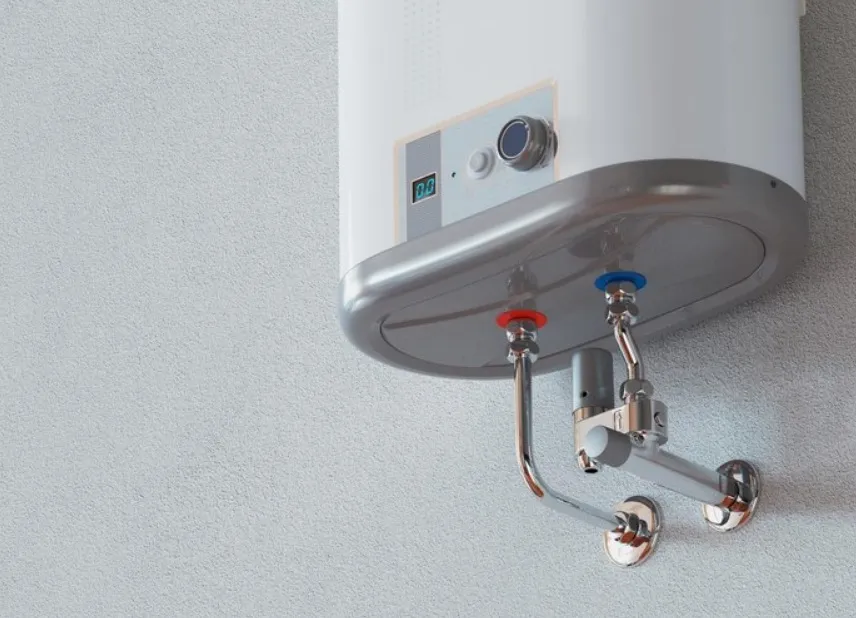
Proper maintenance is key to extending the life of your hot water heater and ensuring it operates efficiently. One of the most important tasks is to regularly flush the tank. Sediment can build up over time, reducing the heater's efficiency and lifespan. Draining a few gallons of water from the tank every six months helps remove this sediment.
Inspecting the anode rod is another crucial maintenance task. This rod attracts corrosive elements, protecting the tank from rust. If the rod is heavily corroded, it should be replaced to prevent damage to the tank. Our professionals can assist with these inspections during routine maintenance checks.
Additionally, it's important to set the thermostat to an optimal temperature. Keeping the temperature at around 120 degrees Fahrenheit ensures efficient operation while preventing scalding and reducing energy costs. Regularly checking for leaks, inspecting the pressure relief valve, and scheduling professional inspections can also help maintain your hot water heater in top condition.
A successful hot water heater installation involves careful preparation, precise execution, and ongoing maintenance. Each step, from selecting the right unit to following a detailed installation process, ensures your system operates efficiently and reliably. Addressing common challenges with the expertise of our professionals guarantees a smooth installation experience and a long-lasting hot water system.
For expert hot water heater installation in Alexandria, trust the experienced team at Cherry Blossom Plumbing. Our professionals are dedicated to providing you with the best solutions for your hot water needs. Contact us today to schedule your service and experience the difference that professional care makes!
Cherry Blossom Plumbing has consistently provided top-notch service, ensuring every issue is resolved efficiently and professionally.

I had a plumbing emergency, and these folks did an awesome job! Joe, the plumber assigned to our job, was very professional and, like me, is also a military veteran. Joe quickly developed a solution and fixed the problem. It was cold outside and the space he had to work in was challenging, but he got the job done!

Very friendly, communicative, and helpful from start to finish. Joe was incredibly thorough and kind in explaining to me what was going on and I appreciated his honesty in not trying to upsell me on something that wouldn't make a difference. Will definitely be calling these folks for future needs!
We had excellent service from Joe with Cherry Blossom Plumbing. He was thorough, fast, and did impeccable work. We will definitely be calling Cherry Blossom Plumbing for our plumbing needs from now on and we'll be requesting Joe.
Scheduling an appointment was easy. We had a litany of plumbing needs, and Chris walked us through his recommendations as well as areas where he did not think it made sense to spend money and negotiated a very fair price. Chris also executed everything he said he would very quickly and the project turned out well.
Joe was able to quickly diagnose the issue and provide recommendations. He took the time to thoroughly explain the situation and the various options, this was extremely helpful for a new homeowner like myself. He was timely and efficient. Would highly recommend.

Proudly serving Arlington and the surrounding Virginia communities with fast, reliable plumbing solutions you can count on.