How to Keep Your Garbage Disposal Clean in 5 Simple Steps
Learn how to keep your garbage disposal clean in 5 simple steps with natural methods that prevent odors and extend its lifespan.


Water pressure regulator installation is a critical project that protects your home’s pipes and appliances from the damaging effects of high municipal water pressure. If you're experiencing banging pipes, leaking faucets, or high water bills, installing or replacing a water pressure regulator (PRV) can restore balance to your plumbing and prevent costly damage.
Quick Answer: Water Pressure Regulator Installation Overview
Most homes receive water from municipal suppliers at pressures between 80 and 200 PSI—far more than the 50 to 60 PSI your plumbing is designed for. This excess pressure puts constant stress on every pipe joint, valve, and appliance. Over time, this can lead to premature wear, leaks, water hammer (banging sounds in your walls), and even burst pipes. A water pressure regulator is the device that brings high incoming pressure down to a safe, manageable range.
Many homeowners in Arlington and Falls Church don't realize they have a PRV until it fails. These bell-shaped brass devices typically last 4 to 12 years. When they fail, symptoms like constantly running toilets, dripping faucets, and hammering sounds become noticeable.
This guide will walk you through the process, from identifying tools to making final pressure adjustments. For comprehensive support, explore our plumbing services in Arlington, VA. If you need expert assistance, our team at Cherry Blossom Plumbing is ready to help.
I'm Amanda Casteel. My background in process management gives me a unique perspective on home infrastructure. At Cherry Blossom Plumbing, we've helped countless homeowners solve pressure-related issues, and I'm here to share that expertise with you.
 Shut off main water and drain system, 2) Locate installation point after main shut-off valve, 3) Remove old regulator or cut pipe section, 4) Install new PRV with flow arrow pointing toward house, 5) Restore water slowly and check for leaks, 6) Adjust to 50-60 PSI using adjustment screw and gauge, 7) Test all fixtures for proper pressure - water pressure regulator installation infographic process-5-steps-informal")
A water pressure regulator, or Pressure Reducing Valve (PRV), uses a spring-loaded diaphragm to maintain consistent water pressure. When incoming pressure is too high, the diaphragm constricts the flow. If pressure drops, it opens wider. This mechanism automatically adjusts to keep your water pressure steady, protecting your plumbing from the excessive force of the municipal supply.
By moderating the pressure, a PRV protects pipes from strain, extends the lifespan of fixtures and appliances (like dishwashers and washing machines), and helps prevent hidden leaks that cause property damage and high water bills.
Municipal systems in areas like Arlington and Falls Church operate at high pressures to ensure water reaches everyone. A PRV acts as a crucial buffer, smoothing out pressure fluctuations that often occur overnight when city-wide demand is low. This prevents water hammer—the loud banging of pipes when water flow stops suddenly. By keeping pressure in the optimal 50-60 PSI range, a PRV reduces pipe stress, protects fixture components, and helps your appliances last longer.
 vs. low water pressure (slow flow, appliance inefficiency) on a home plumbing system - water pressure regulator installation infographic comparison-2-items-formal")
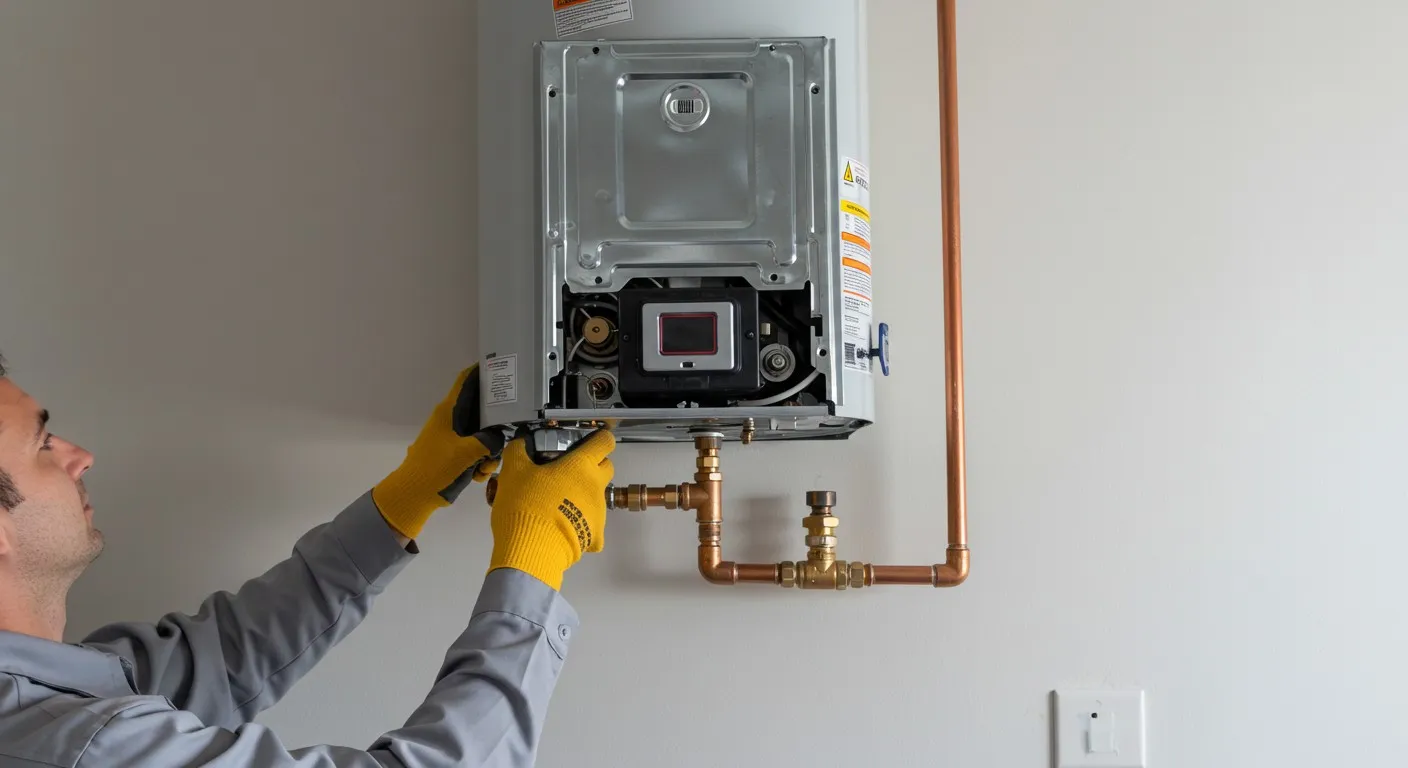
Proper preparation for water pressure regulator installation ensures the project goes smoothly. Your first task is to locate your existing PRV, if you have one. Look for a bell-shaped brass device on your main water line, typically right after the main shut-off valve in a basement, crawlspace, or utility room.
Next, test your current water pressure to confirm a problem exists. Attach a water pressure gauge (available at hardware stores) to an outdoor hose bibb or washing machine faucet. With no other water running in the house, turn the faucet on fully. A consistent reading above 80 PSI indicates high pressure, while erratic fluctuations also signal a problem. The ideal range is 50-60 PSI.
Gather your tools before shutting off the water. You will need:
Safety is non-negotiable. Follow these precautions to prevent injury and water damage.
You've prepped and are ready to install your new water pressure regulator. Water pressure regulator installation is a manageable DIY project for those with basic plumbing skills, but not all installations are the same. If you're replacing a unit with threaded connections, the job is relatively simple. However, if you need to cut and solder copper pipes, the complexity increases. If you feel uncertain, especially when working on your home's main water supply, calling a professional is the wisest choice.

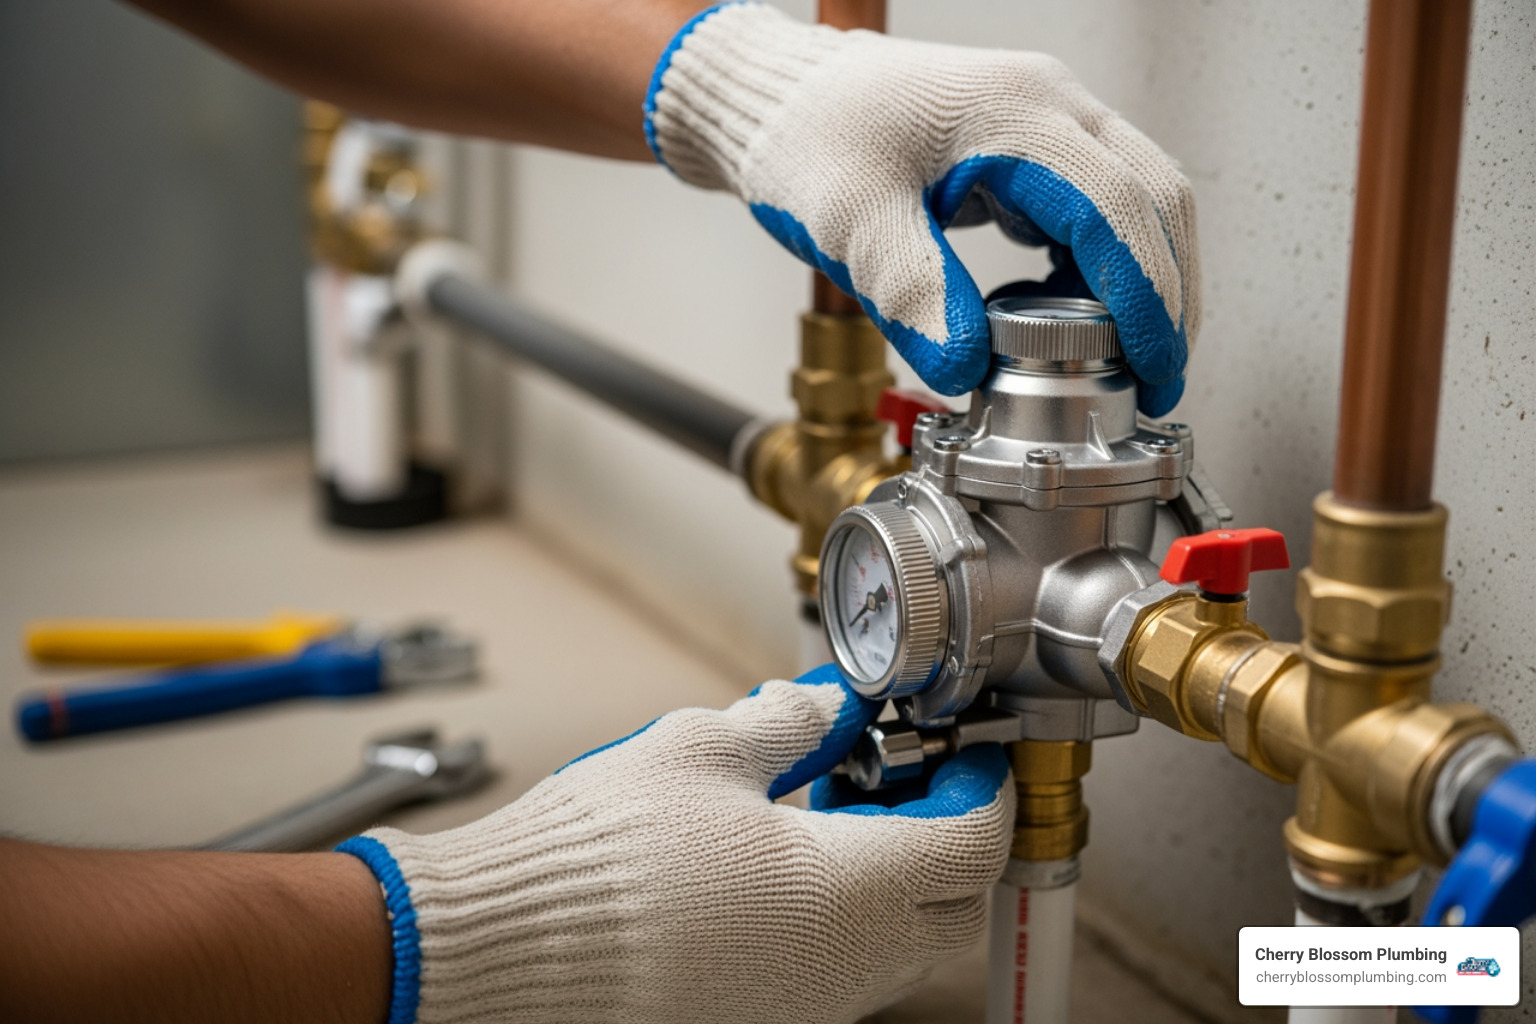
This is the most straightforward scenario. Place a bucket under the old regulator to catch residual water. Use two wrenches—one to hold the pipe steady and the other to turn the coupling nut. This prevents twisting the pipe and damaging other connections.
This method requires more skill. If you're new to soldering, practice on scrap pipe first or call a professional.

Once cooled, attach the new regulator to the soldered couplings, ensuring the flow arrow points toward the house. Follow the same careful process for the final connections, whether they are threaded or soldered.
If this process feels overwhelming, the team at Cherry Blossom Plumbing has extensive experience with these installations in Arlington and Falls Church.
With the new regulator installed, the final stage is to restore water and dial in the correct pressure. This requires patience and precision.
First, restore your water supply slowly. With several faucets still open, gradually turn on the main shut-off valve. This allows pipes to fill gently and pushes air out of the system. As the system fills, check for leaks around your new connections. If you see any drips, gently tighten the fitting. Once water flows from the open faucets without sputtering, close them all.
New regulators often need adjustment to reach the ideal 50-60 PSI range.

Finally, test a few fixtures around your home. The flow should feel consistent and comfortable. Your water pressure regulator installation is now complete, adding years of life to your plumbing system.
We've answered many questions about water pressure for homeowners in Arlington and Falls Church. Here are some of the most common ones.
The ideal water pressure for a home is between 50 and 60 PSI (pounds per square inch). This is the range that fixtures and appliances are designed for. While pressure as low as 40 PSI or as high as 60 PSI is generally acceptable, anything consistently over 80 PSI puts excessive stress on pipes, joints, and seals.
Many plumbing codes require a water pressure regulator installation if municipal pressure exceeds 80 PSI. It's a necessary protection for your plumbing system, not just a suggestion.
A water pressure regulator typically lasts about 10 years. Depending on water quality and pressure fluctuations, the lifespan can range from 4 to 12 years.
Many manufacturers recommend replacing your regulator every five years as a preventative measure. A failing regulator may not show obvious signs at first, but it can gradually allow high pressure to damage your plumbing. If you notice fluctuating pressure, banging noises, or new leaks, it's time to inspect your regulator, regardless of its age.
It depends on your skill level and the specific installation. If you are replacing an existing regulator with threaded connections, it can be a manageable DIY project for someone with moderate plumbing experience, taking about 1-2 hours.
However, if the job involves cutting and soldering copper pipes, the complexity increases significantly. Soldering requires practice and is best not learned on your home's main water line. A mistake can lead to leaks, water damage, or improper pressure. If you are at all uncertain, calling a professional is the safest choice. Our licensed plumbers at Cherry Blossom Plumbing handle water pressure regulator installation regularly, ensuring the job is done correctly and to code.
Installing or replacing a water pressure regulator is one of the smartest investments you can make in your home's health. A properly working PRV provides consistent water pressure, protecting your entire plumbing system. Your fixtures and appliances will operate as designed and last longer, and you'll avoid sneaky leaks that waste water and cause damage. The peace of mind from knowing your plumbing is safe is priceless.
Whether you completed your water pressure regulator installation yourself or are still considering it, you don't have to make the decision alone. For complex jobs involving soldering or for anyone unsure about the process, contacting a professional is always the safest choice.
The expert team at Cherry Blossom Plumbing has helped homeowners throughout Arlington, Falls Church, and surrounding areas keep their plumbing running smoothly for years. Our family-owned business prides itself on delivering fast, reliable, and honest service with that "WOW factor" you deserve. We're not just fixing problems—we're building lasting relationships with our community.
For more information or to explore our comprehensive services, visit our plumbing services in Arlington, VA page. Let's make sure your home's plumbing has the protection it needs.
Cherry Blossom Plumbing has consistently provided top-notch service, ensuring every issue is resolved efficiently and professionally.

I had a plumbing emergency, and these folks did an awesome job! Joe, the plumber assigned to our job, was very professional and, like me, is also a military veteran. Joe quickly developed a solution and fixed the problem. It was cold outside and the space he had to work in was challenging, but he got the job done!

Very friendly, communicative, and helpful from start to finish. Joe was incredibly thorough and kind in explaining to me what was going on and I appreciated his honesty in not trying to upsell me on something that wouldn't make a difference. Will definitely be calling these folks for future needs!
We had excellent service from Joe with Cherry Blossom Plumbing. He was thorough, fast, and did impeccable work. We will definitely be calling Cherry Blossom Plumbing for our plumbing needs from now on and we'll be requesting Joe.
Scheduling an appointment was easy. We had a litany of plumbing needs, and Chris walked us through his recommendations as well as areas where he did not think it made sense to spend money and negotiated a very fair price. Chris also executed everything he said he would very quickly and the project turned out well.
Joe was able to quickly diagnose the issue and provide recommendations. He took the time to thoroughly explain the situation and the various options, this was extremely helpful for a new homeowner like myself. He was timely and efficient. Would highly recommend.

Proudly serving Arlington and the surrounding Virginia communities with fast, reliable plumbing solutions you can count on.