Garbage disposal repair and installation in Groveton, VA are explained with a practical, step-by-step approach. The page covers common issues, how a pro diagnoses problems, when to repair versus replace, what a proper installation entails (electrical and plumbing), model recommendations for families and rental homes, safety tips, and realistic price and warranty expectations for Northern Virginia residents. It also outlines scheduling considerations and ongoing maintenance to extend unit life and ensure reliable kitchen performance. This summary is designed for quick, practical decision-making.
Garbage Disposal Repair / Installation in Groveton, VA
An efficient garbage disposal keeps a Groveton kitchen running smoothly. Whether you have an older home near the Potomac or a newer townhouse closer to Route 1, garbage disposal problems — jams, motor failures, or slow drainage — interrupt meal prep and add stress. This page explains how professionals diagnose common issues, when repair makes sense versus replacement, what a proper installation involves (electrical and plumbing), recommended models and upgrades for Northern Virginia homes, safety and use tips, and realistic price and warranty expectations specific to Groveton homeowners.
Common garbage disposal issues in Groveton homes
- Jams and clogs: Fibrous foods, bones, or utensils can lock the impellers. Older disposals in renovation-heavy neighborhoods are often more prone to jams.
- Motor hum or failure: A humming motor usually means a jam or a failing motor winding. Repeated hums often indicate a motor on its way out.
- Leaks: Leaks commonly occur at the sink flange, dishwasher inlet, mounting ring, or the body of the unit. Temperature swings and settling in older Groveton houses can loosen seals.
- No power / tripping breaker: Faulty wiring or a tripped reset switch, sometimes caused by lack of a dedicated circuit.
- Slow draining or foul odors: Partial clogs in the disposal or trap, or insufficient rinsing, often related to hard water and grease buildup common in Northern Virginia.
Diagnosis: what a pro checks first
A methodical diagnosis separates a minor fix from a necessary replacement.
- Confirm power and reset switch status.
- Inspect for visible jams with the unit turned off and power disconnected.
- Use a hex key to gently turn the flywheel to determine mechanical freedom.
- Check for electrical faults at the switch, wiring, and breaker (dedicated circuit versus shared circuit).
- Isolate leak location: sink flange, dishwasher hose, discharge elbow, or housing.
- Test motor performance and internal components to evaluate repairability.
Repair versus replacement: practical guidance
- Repair is often best when:
- The unit is less than 7–10 years old and has a localized mechanical problem (jammed impeller, replaceable capacitor, or minor leak).
- The cost of parts and labor is significantly less than replacement.
- Replace when:
- The unit is older than about 10–12 years, suffers repeated failures, has internal corrosion, or a burned motor.
- Leaks stem from a cracked housing or the cost to repair approaches 50% or more of a new unit.
- You want improved features (quieter operation, higher horsepower, or compatibility with septic systems).
Step-by-step installation overview (electrical and plumbing)
A professional installation follows code and best practices to ensure safe, reliable operation.
Pre-install checks
- Verify sink flange condition and clearance under the sink.
- Confirm electrical supply: dedicated 120V circuit typically required, GFCI where code applies.
- Select correct disposal size for household needs.
Removal of old unit
- Turn off breaker and unplug electrical connection.
- Disconnect dishwasher hose and drain trap.
- Release mounting assembly (three-bolt or EZ mount) and lower the unit.
Mounting the new unit (plumbing)
- Install or replace sink flange and putty/seal per manufacturer instructions.
- Attach mounting assembly and secure the disposal to the sink flange.
- Reconnect the discharge elbow and trap, ensuring proper alignment and a water-tight seal.
- Reconnect dishwasher drain hose if applicable using the knockout plug removal and appropriate clamp.
Electrical connections
- Hardwired or plug-in: follow local code. Many installations use a cord kit and an outlet in the cabinet; other installations require hardwiring to a switched circuit.
- Grounding: ensure proper grounding and secure wire nuts or terminal connections.
- Test the switch operation and confirm breaker sizing.
Final testing
- Restore power, run cold water, and test disposal under load with small scraps.
- Check for leaks at all connections and verify grind sound and drainage.
Recommended models and upgrades for Groveton households
- For typical family kitchens: 3/4 to 1.0 HP continuous-feed units (e.g., quiet models with sound insulation) balance power and noise.
- For light-use kitchens or small apartments: 1/3 to 1/2 HP units.
- For heavy use or frequent food scraps: 1.0 HP+ units and models with anti-jam technology.
- Consider batch-feed models for safety-conscious homes, or disposals with enhanced soundproofing for open-plan kitchens in Groveton’s townhouses.
- Septic-safe disposals are available if you have a septic system; these units grind more finely and are designed for septic compatibility.
Safety tips and proper use
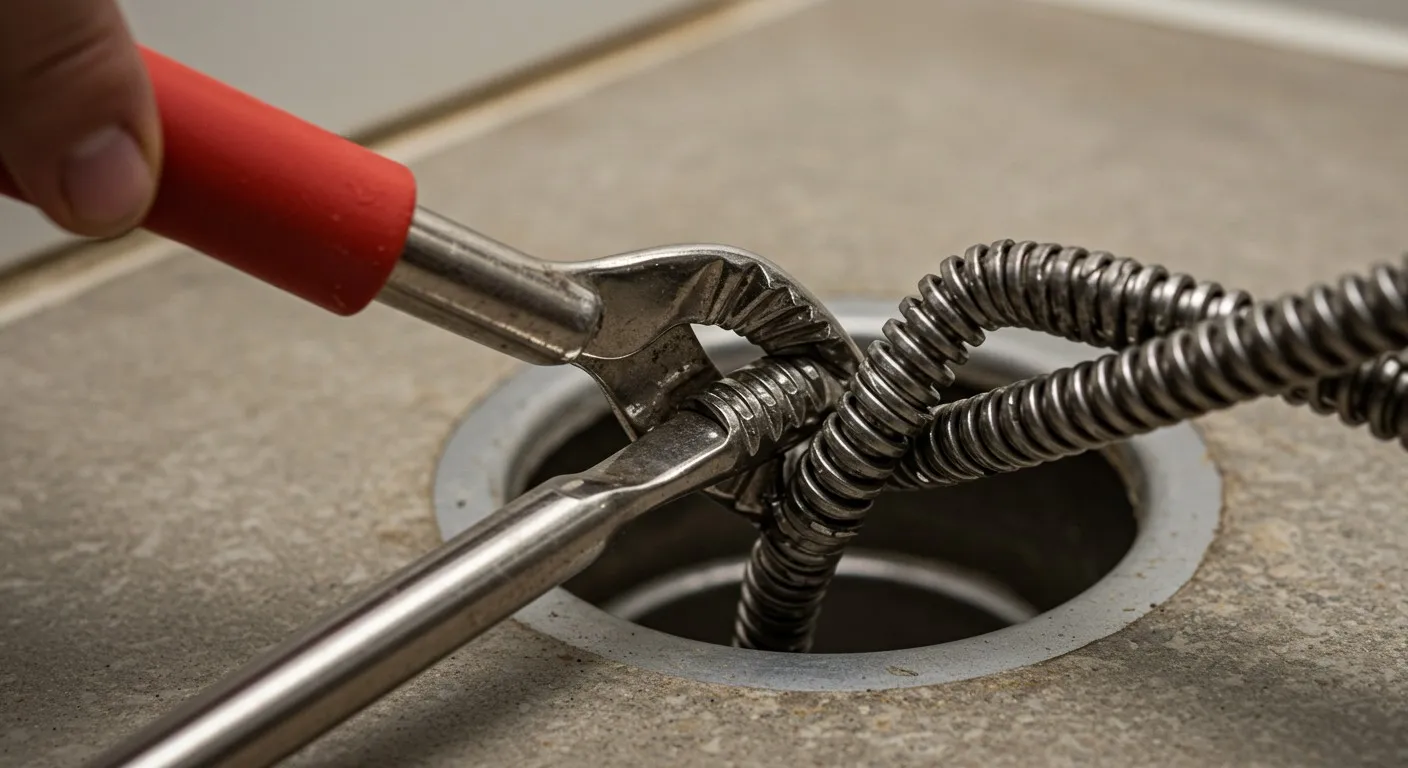
- Always disconnect power at the breaker before servicing. Never reach into the disposal with your hand. Use tongs or pliers for retrieval.
- Run cold water while operating the disposal to carry solids through the drain.
- Avoid grease, coffee grounds in large amounts, pasta, potato peels, and fibrous materials (celery, corn husks).
- Periodically clean with ice cubes and a small amount of citrus or baking soda to reduce odors and remove buildup.
- Inspect under-sink plumbing and mounting hardware periodically for early leak detection, especially in older Groveton homes that may shift with seasonal settling.
Pricing estimates and warranty expectations
- Typical basic repairs (unjamming, new splash guard, reset, minor seal replacement): commonly range from approximately $100 to $300 depending on complexity.
- Motor replacements or major repairs can range higher; often approaching the cost of a new unit.
- New unit installation (including parts and labor): commonly ranges between about $300 and $900+ depending on horsepower, model, mounting style, and whether new electrical work is required.
- Warranties vary by manufacturer: 1 to 7 years is common. Higher-end models often include longer warranties on parts and motors. Confirm whether labor warranties are offered with the installation.
Scheduling and service considerations in Groveton
- Expect most garbage disposal service visits to take 1 to 3 hours, depending on whether replacement and electrical work are needed.
- Same-day and emergency repairs are common in busy Northern Virginia neighborhoods, but allow flexibility during peak renovation seasons.
- If your disposal is part of a recently renovated kitchen, confirm that the installation followed local electrical and plumbing codes.
Final benefits and maintenance advice
Timely diagnosis and proper installation restore kitchen convenience and prevent water damage and odors. For Groveton homeowners, choosing the right horsepower and a sound-insulated model reduces disruption in closely spaced homes, while routine preventive care (cold-water rinses, avoiding grease, and periodic inspections) extends unit life in Northern Virginia’s water conditions. Proper electrical and mounting work ensures long-term reliability and safety.
Trusted Brands.
We partner with industry-leading manufacturers to ensure your plumbing system runs on durable, high-quality parts built to last.


Customer Testimonials
Cherry Blossom Plumbing has consistently provided top-notch service, ensuring every issue is resolved efficiently and professionally.

I had a plumbing emergency, and these folks did an awesome job! Joe, the plumber assigned to our job, was very professional and, like me, is also a military veteran. Joe quickly developed a solution and fixed the problem. It was cold outside and the space he had to work in was challenging, but he got the job done!

Very friendly, communicative, and helpful from start to finish. Joe was incredibly thorough and kind in explaining to me what was going on and I appreciated his honesty in not trying to upsell me on something that wouldn't make a difference. Will definitely be calling these folks for future needs!
We had excellent service from Joe with Cherry Blossom Plumbing. He was thorough, fast, and did impeccable work. We will definitely be calling Cherry Blossom Plumbing for our plumbing needs from now on and we'll be requesting Joe.
Scheduling an appointment was easy. We had a litany of plumbing needs, and Chris walked us through his recommendations as well as areas where he did not think it made sense to spend money and negotiated a very fair price. Chris also executed everything he said he would very quickly and the project turned out well.
Joe was able to quickly diagnose the issue and provide recommendations. He took the time to thoroughly explain the situation and the various options, this was extremely helpful for a new homeowner like myself. He was timely and efficient. Would highly recommend.

Service Areas
Proudly serving Arlington and the surrounding Virginia communities with fast, reliable plumbing solutions you can count on.