Garbage disposal repair and installation in Hybla Valley, VA explains common problems, diagnostic steps, and practical options for homeowners. The guide outlines when repair is appropriate, when replacement is better, and what to expect during professional service. It covers installation steps, safety practices, warranty considerations, pricing factors, and maintenance tips to extend a unit’s life. By detailing electrical checks, jam removal, and preventive care, this page helps readers choose the right solution for reliable kitchen drainage.

Garbage Disposal Repair / Installation in Hybla Valley, VA
A malfunctioning garbage disposal can disrupt daily routines, create unpleasant odors, and lead to clogged drains. For homeowners in Hybla Valley, VA, fast and accurate garbage disposal repair or professional installation restores kitchen function and prevents secondary plumbing problems. This page explains common disposal issues in Hybla Valley homes, how technicians diagnose and fix them, when replacement makes more sense than repair, what to expect during installation, safety practices, pricing and warranty factors, and practical maintenance tips to extend a unit’s life.
Why professional service matters in Hybla Valley homes
Hybla Valley includes a mix of midcentury and newer homes. Older sink mounts, mixed plumbing materials, and the region’s moderately hard water can accelerate wear on grinding components and seals. Proximity to the Potomac and local humidity also contributes to faster corrosion and odor problems in neglected units. Professional technicians account for local plumbing configurations, sewer or septic connections, and common regional wear patterns when assessing repair or installation options.
Common garbage disposal problems in Hybla Valley, VA
- Won’t turn on or reset trips: Often caused by electrical issues, blown breaker, faulty wall switch, or an overloaded motor.
- Humming but not grinding: Motor is receiving power but the flywheel is jammed by silverware, fibrous food, or a stubborn object.
- Loud grinding or rattling: Broken or loose internal components, loose mounting hardware, or dropped metal pieces.
- Leaking at the sink, body, or drain lines: Worn seals, cracked housing, loose connections, or corroded flange.
- Slow draining or frequent clogs: Not always the disposal; could be buildup in the trap or drain line from grease and food accumulation.
- Persistent odors: Food residue stuck in the grind chamber, inadequate rinsing, or deteriorated rubber splash guard.
How technicians diagnose the issue
A clear, stepwise diagnosis separates simple fixes from larger repairs:
- Visual inspection: check for leaks, mounting integrity, and visible damage to the splash guard and dishwasher connection.
- Electrical check: verify power at the outlet, test the wall switch, and confirm the reset button and circuit breaker.
- Manual rotation: with power off and unit unplugged, a technician uses a hex key in the bottom-turn hole to free a jammed flywheel safely.
- Component testing: inspect impellers, grinding ring, motor bearings, and seals for wear or corrosion.
- Drain evaluation: if draining is slow, camera or manual inspection of the trap and drain can find blockages unrelated to the disposal.
Repair vs full replacement — what to consider
Repair is often feasible when:
- The unit is less than 7 to 10 years old
- Damage is limited to replaceable parts such as seals, splash guards, or the mounting assembly
- Motor and grind components are intact and not corroded beyond repair
Replacement is recommended when:
- Motor failure or severe internal corrosion is present
- Repeated electrical trips or overheating indicate a failing motor
- The unit is old and repair costs approach or exceed the cost of a new disposal
- You want upgraded features like quieter operation or higher horsepower
Local factors that influence the decision: homes on septic systems require extra caution; high-frequency use households in Hybla Valley may opt for a more powerful, durable unit rather than repeated repairs.
Models and installation overview
Popular residential options include:
- Continuous feed disposals: activate with a wall switch; good for frequent use
- Batch feed disposals: operated with a stopper; adds safety for homes with children
- Horsepower choices: 1/3 to 1 HP. For most Hybla Valley kitchens, 1/2 HP provides reliable performance without excessive energy draw
- Features to consider: stainless steel grind components, anti-jam mechanisms, sound insulation, and built-in overload protection
Installation steps (overview):
- Remove the old unit and inspect the sink flange and drain connections
- Replace any corroded mounting hardware and ensure a watertight flange seal
- Connect dishwasher inlet if applicable; remove knockout plug where needed
- Mount the new disposal and reconnect plumbing and electrical (or hardwire per code)
- Test operation, check for leaks, and verify that drains clear properly
A professional installer will ensure the unit matches sink configuration, meets local code, and maintains any manufacturer installation requirements for warranty validity.
Safety practices
- Always turn off power at the switch and unplug the unit before inspecting or servicing
- Never put your hand inside the disposal; use tongs or pliers to remove objects
- Use the manual reset and a hex key at the bottom port for safe unjamming
- Avoid chemical drain cleaners; they can damage seals and the motor
- If wiring issues are suspected, leave electrical work to a licensed technician
Pricing and warranty considerations
Costs vary with unit quality, horsepower, time required, and plumbing complexity. Factors that increase price include replacing a corroded sink flange, adapting the unit to a septic system, or correcting substandard prior installations. Warranties typically vary by manufacturer: many disposals offer limited parts and motor warranties ranging from 1 to 10 years. Professional installation can protect warranty coverage, so verify manufacturer terms before attempting DIY installation.
Practical tips to extend disposal life
- Run cold water for 15 seconds before and after grinding to flush solids
- Feed small amounts gradually; avoid overloading in a single cycle
- Do not put grease, oil, large bones, coffee grounds in the disposal
- Avoid fibrous foods like celery, corn husks, and artichokes that tangle blades
- Use ice cubes periodically to clean the grinding components and remove residue
- Freshen odors with citrus peels or a baking soda and vinegar rinse followed by hot water
- Install a sink strainer and remove solid particles before running the disposal
Conclusion — dependable function, fewer headaches
A well-maintained garbage disposal improves kitchen hygiene and convenience. For Hybla Valley homeowners, taking local factors into account when diagnosing, repairing, or installing a unit prevents repeat failures and protects plumbing lines. Whether you need a straightforward unjam, leak repair, or a modern replacement with upgraded features, understanding the diagnostic process, safety practices, and maintenance essentials helps you choose the right solution and extend the life of your disposal.
Trusted Brands.
We partner with industry-leading manufacturers to ensure your plumbing system runs on durable, high-quality parts built to last.


Customer Testimonials
Cherry Blossom Plumbing has consistently provided top-notch service, ensuring every issue is resolved efficiently and professionally.

Service Areas
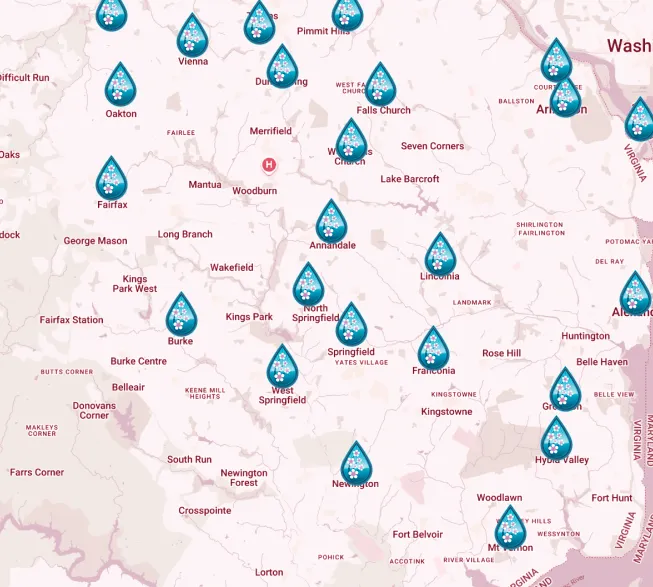
Proudly serving Arlington and the surrounding Virginia communities with fast, reliable plumbing solutions you can count on.


