How to Keep Your Garbage Disposal Clean in 5 Simple Steps
Learn how to keep your garbage disposal clean in 5 simple steps with natural methods that prevent odors and extend its lifespan.


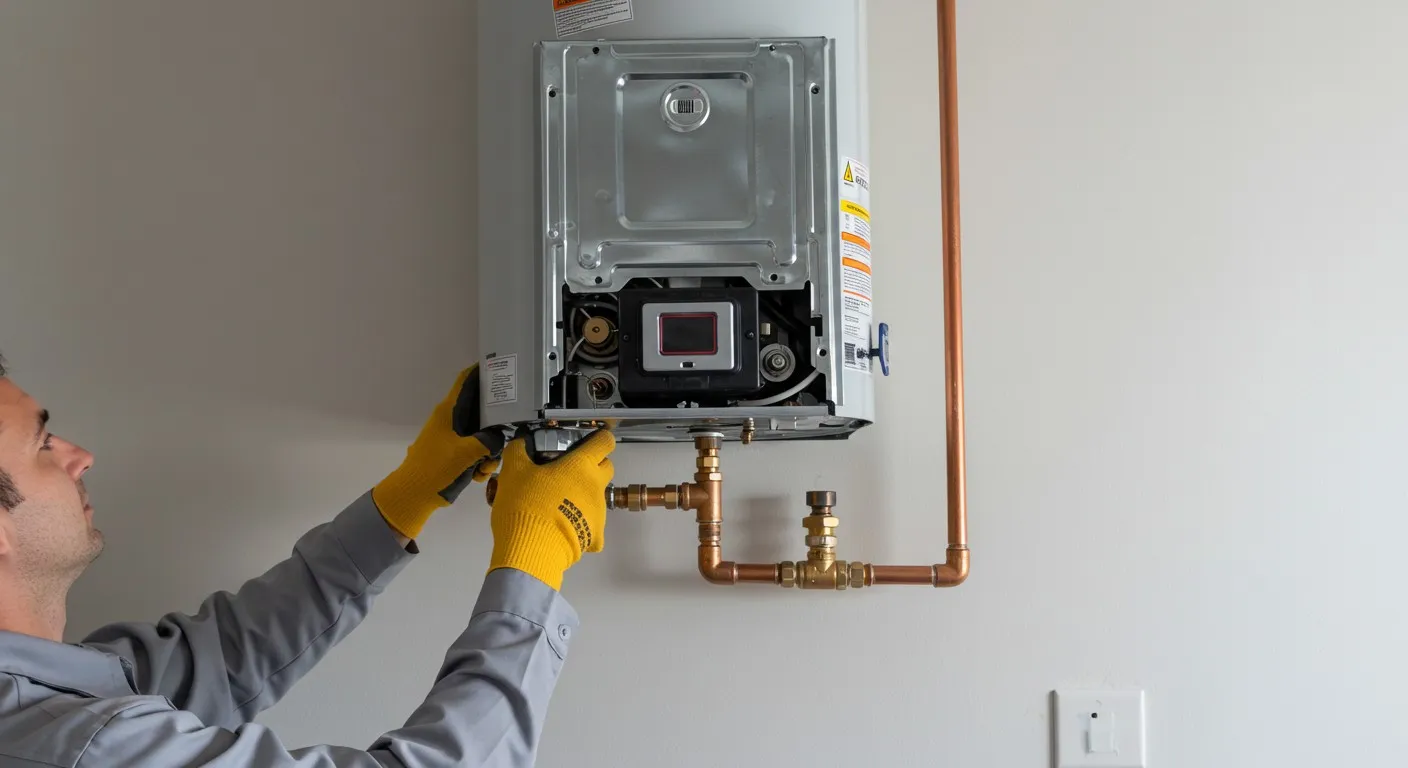
Installing a garbage disposal is a practical way to manage kitchen waste and reduce the risk of clogged drains. A well-installed disposal unit can help you efficiently dispose of food scraps, keep your kitchen clean, and maintain proper drain function. However, the installation process requires some preparation and knowledge to ensure it is done correctly.
Before starting any garbage disposal installation project, gathering the necessary tools and materials is essential for smooth progress. Having everything ready minimizes interruptions and ensures efficient completion. Key tools include a screwdriver, adjustable wrench, plumber’s putty, and plumber’s tape. A bucket and a flashlight can also come in handy during the installation process.
Besides tools, specific materials are required to get the job done correctly. Ensure you have the garbage disposal unit, a mounting ring, and a drain flange. Additionally, you might need electrical supplies such as wire connectors and a power cord if the unit doesn’t come pre-wired. It’s also good to have cleaning supplies on hand, as installing a garbage disposal can create a bit of a mess.
It's important to verify that the garbage disposal you're installing is compatible with your sink and plumbing system. Check the manufacturer’s specifications to make sure the unit fits your setup. Having all the right tools and materials ready ensures the installation goes smoothly and helps avoid common pitfalls that can lead to problems like a clogged drain.
Installing a garbage disposal unit involves several detailed steps. By following these guidelines, you can ensure the proper installation of the unit. First, you need to turn off the power to the kitchen sink area to ensure safety. Then, remove the parts from the packaging and familiarize yourself with each component, including the mounting assembly, drain flange, and unit itself.
Start by installing the mounting ring and drain flange. Apply a bead of plumber’s putty around the flange and press it into the sink's drain hole. Attach the mounting ring from beneath the sink and secure it tightly. Next, if your garbage disposal unit requires wiring, connect it to a power source following the manufacturer's instructions.
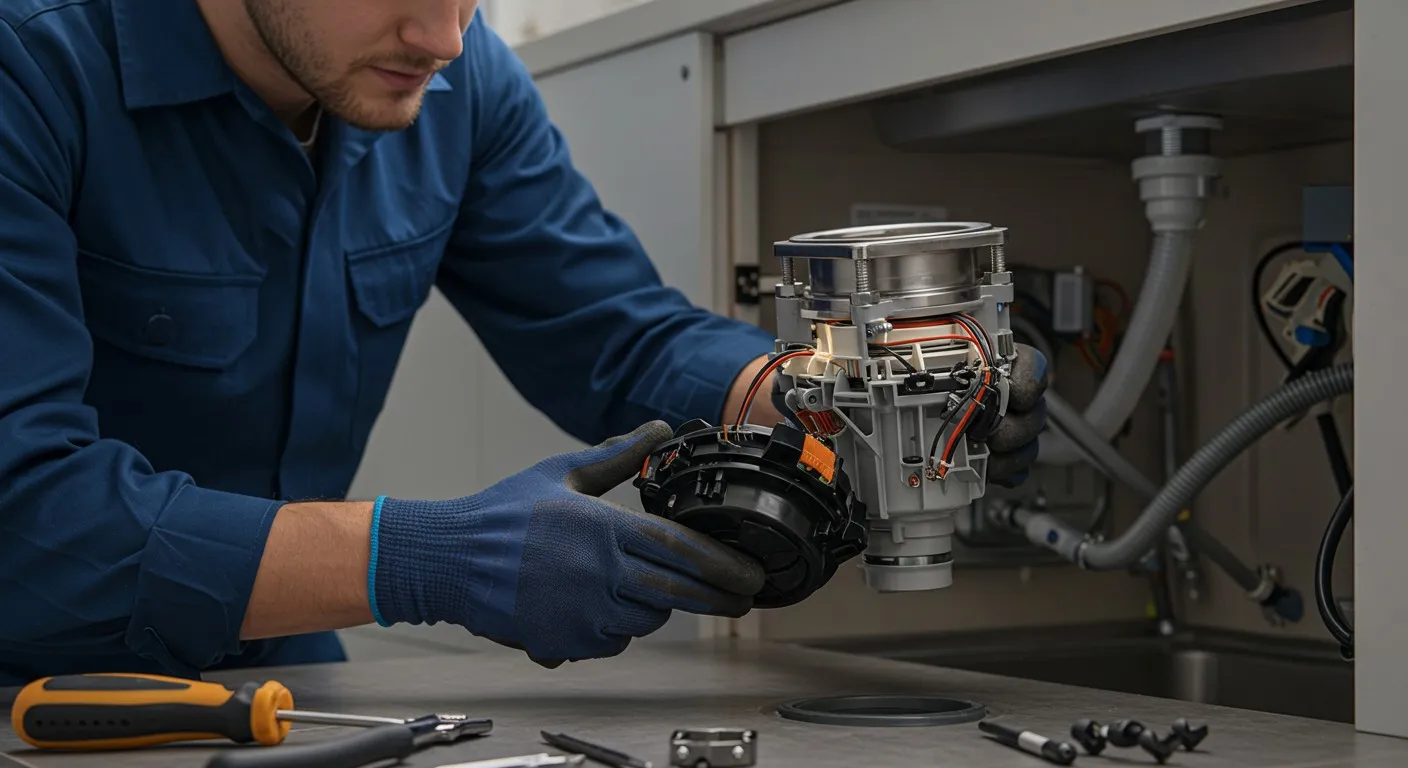
After securing the wiring, attach the disposal unit to the mounting assembly. Align the unit with the rings and twist it into place until it locks securely. Use an adjustable wrench to tighten connections and ensure there are no leaks.
Finally, connect the disposal discharge to your home's drain system. Use plumber’s tape to guarantee a tight seal. Turn the power back on and test the unit to make sure it operates correctly. If any issues arise, it’s essential to contact our professionals to prevent complicating problems that might require more extensive repairs or emergency plumber services.
Even with careful preparation, you might encounter some issues during garbage disposal installation. Misalignment is a common problem that can lead to leaks and improper functioning of the unit. If the mounting ring and disposal unit are not aligned perfectly, it can cause the disposal to vibrate excessively and produce noise. Ensuring that all components fit together correctly can be challenging without the proper experience.
Another frequent issue is improper electrical connections. Incorrect wiring can prevent the unit from running or even create a safety hazard. It’s crucial to follow the manufacturer's wiring instructions meticulously. However, electrical work can be complex, and mistakes are easy to make without professional training.
Proper maintenance is key to ensuring your garbage disposal remains clog-free and operates efficiently for years to come. One of the most effective ways to maintain your disposal unit is to run it regularly. This helps prevent rust and ensures that any leftover food particles are ground down and flushed away.
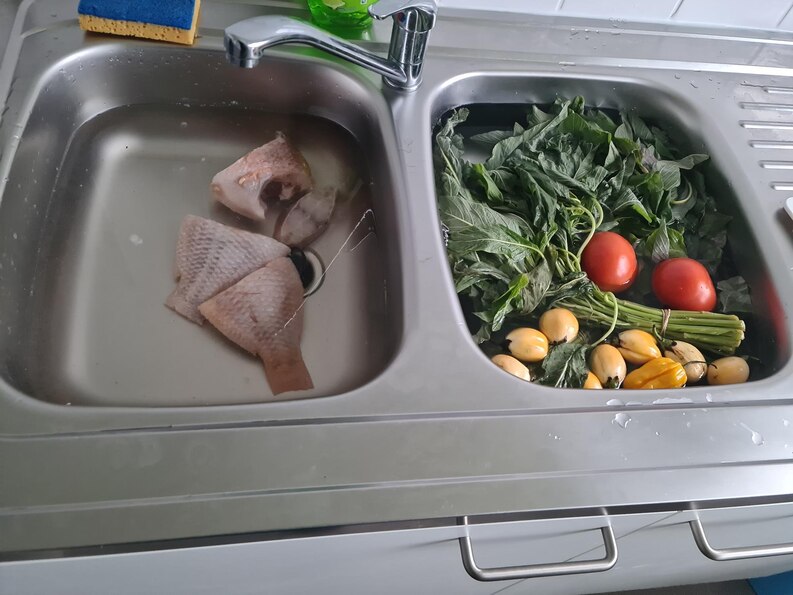
It's equally important to watch what you put into the disposal. Avoid hard items like bones, fibrous materials such as celery, and starchy foods like potato peels, as these can cause a clogged drain. Running cold water while the disposal is on can also help by solidifying any grease or fat, making it easier for the unit to grind.
Periodic cleaning is essential for maintaining performance and preventing bad odors. You can use a mix of vinegar and baking soda to clean the disposal without resorting to harsh chemicals. Simply pour the solution into the disposal, let it sit for a few minutes, then rinse with cold water. Ice cubes can also help clean the blades and remove any residue.
Regular professional inspections should also be part of your maintenance routine. Our technicians can perform thorough checks to ensure everything is in working order and address any emerging issues before they become significant problems. This preventive measure can save you from a costly repair or the inconvenience of calling an emergency plumber.
A well-installed and properly maintained garbage disposal is a valuable addition to any kitchen, aiding in the efficient management of food waste and helping prevent clogged drains. Understanding the preparation, common issues, and maintenance tips for your disposal unit can ensure its longevity and optimal performance.
Our professionals at Cherry Blossom Plumbing are here to assist you from installation through to ongoing maintenance. Trusting our experienced team ensures your garbage disposal functions correctly and remains in good condition for years. Contact us today to schedule your garbage disposal installation in Alexandria and enjoy a hassle-free kitchen experience!
Cherry Blossom Plumbing has consistently provided top-notch service, ensuring every issue is resolved efficiently and professionally.

I had a plumbing emergency, and these folks did an awesome job! Joe, the plumber assigned to our job, was very professional and, like me, is also a military veteran. Joe quickly developed a solution and fixed the problem. It was cold outside and the space he had to work in was challenging, but he got the job done!

Very friendly, communicative, and helpful from start to finish. Joe was incredibly thorough and kind in explaining to me what was going on and I appreciated his honesty in not trying to upsell me on something that wouldn't make a difference. Will definitely be calling these folks for future needs!
We had excellent service from Joe with Cherry Blossom Plumbing. He was thorough, fast, and did impeccable work. We will definitely be calling Cherry Blossom Plumbing for our plumbing needs from now on and we'll be requesting Joe.
Scheduling an appointment was easy. We had a litany of plumbing needs, and Chris walked us through his recommendations as well as areas where he did not think it made sense to spend money and negotiated a very fair price. Chris also executed everything he said he would very quickly and the project turned out well.
Joe was able to quickly diagnose the issue and provide recommendations. He took the time to thoroughly explain the situation and the various options, this was extremely helpful for a new homeowner like myself. He was timely and efficient. Would highly recommend.

Proudly serving Arlington and the surrounding Virginia communities with fast, reliable plumbing solutions you can count on.