Oakton, VA water heater repair services diagnose and repair both tank and tankless units to restore hot water, assess whether repair or replacement is most cost-effective, and tailor solutions to local hard water and seasonal temperatures. The guide outlines common issues such as no hot water, insufficient recovery, leaks, noisy operation, ignition or pilot problems, corrosion, and scale, along with step-by-step diagnostic methods, typical repair timelines, parts commonly replaced, warranty considerations, safety steps, and preventive maintenance to extend system life.

water heater repair in Oakton, VA
When your hot water goes out in Oakton, VA, it interrupts daily life fast: cold showers, dishwasher cycles that stop midway, handwashing concerns. Reliable water heater repair in Oakton, VA focuses on diagnosing the exact cause, restoring safe hot water quickly, and helping you decide whether repair or replacement is the smarter long-term choice. Oakton’s seasonal temperature swings and moderately hard groundwater can accelerate common problems like scale buildup and corrosion, so local context matters when evaluating units and repair options.
Common water heater repair issues in Oakton, VA
- No hot water at all: usually caused by a failed heating element (electric), pilot light or gas control failure (gas), or a tripped breaker.
- Insufficient hot water or short recovery: sediment buildup, failed thermostats, or undersized unit relative to household demand.
- Leaks (at fittings or tank): can be caused by loose connections, failed valves, or a corroded tank shell—tank leaks are often a replacement condition.
- Strange noises (popping, rumbling): typical sign of heavy sediment collecting on the tank bottom, causing localized boiling and noise.
- Pilot light or ignition problems: draft issues, thermocouple failure, or gas valve trouble on gas-fired units.
- Discolored or rusty water: usually indicates corrosion inside the tank or a deteriorating anode rod.
- Frequent cycling or temperature fluctuations: thermostat or control problems, or scale on heating surfaces.
- Tankless unit errors: flow sensor failures, scale buildup on heat exchangers, ignition/venting problems.
How technicians diagnose tank and tankless units
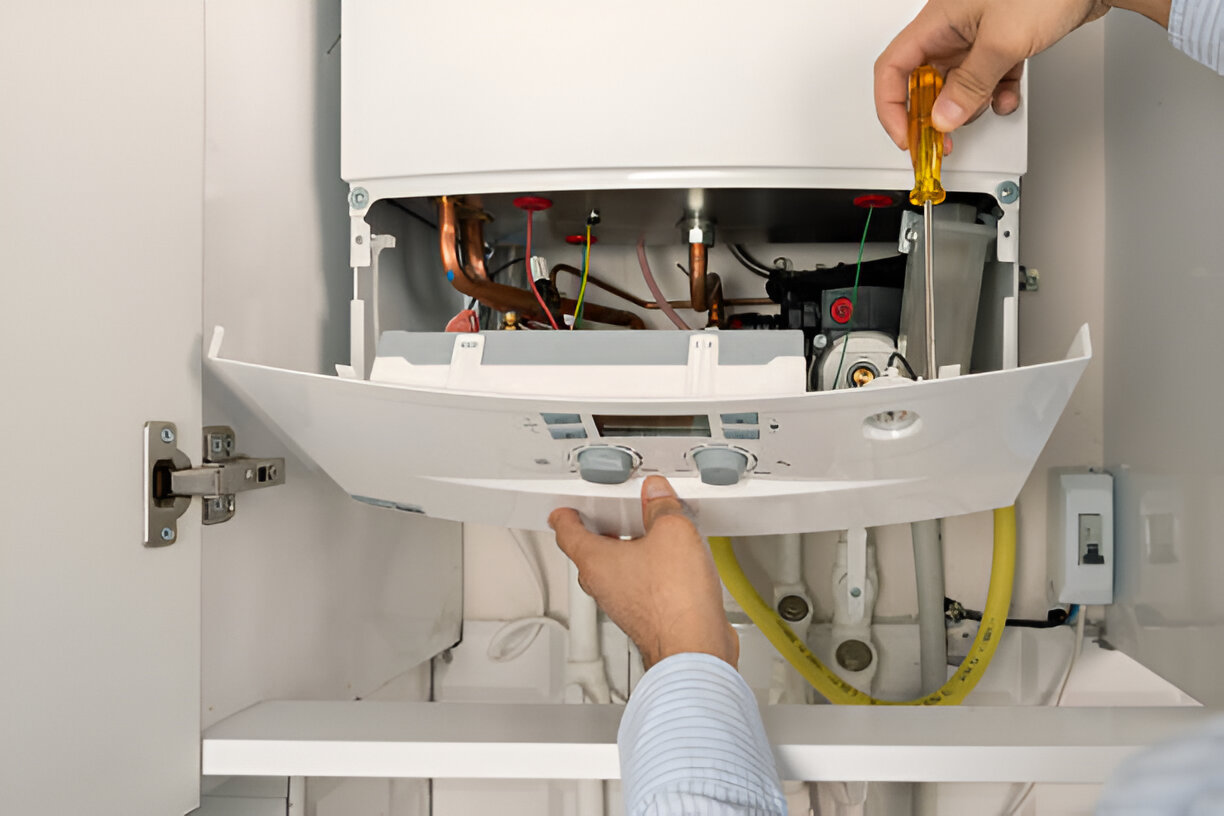
- Visual and safety check: inspect for obvious leaks, corrosion, proper venting, and gas odor; confirm power and gas supply are on.
- Electrical and gas diagnostics: test breakers, heating elements, thermostats, and gas valve operation with meters and gauges.
- Sediment and pressure checks: measure temperature rise and recovery time; drain a small sample to check for sediment and discoloration.
- Component-specific tests: test thermocouple/pilot on gas units, continuity on electric elements, and check anode rod condition.
- Tankless diagnostics: read error codes, test flow sensors, inspect burners and venting, and evaluate scale accumulation on the heat exchanger.
- Accessible reporting: technicians typically explain findings, list necessary parts, and outline repair steps so you understand the scope and timeline.
Typical repair process (tank and tankless)
- Secure the job site and shut off power/gas and water supply.
- Drain or isolate the unit as needed to access components safely.
- Replace identified parts (heating elements, thermostats, valves, anode rod, T&P valve, control boards, flow sensors).
- Flush and descal e tanks or descale tankless heat exchangers when needed to restore efficiency.
- Reassemble, restore service, and test for proper temperature, pressures, and leak-free operation.
- Final inspection and safety checks before returning the unit to service.
Estimated timelines for common repairs
- Simple component replacements (thermostat, heating element, T&P valve): often completed the same day, typically 1 to 3 hours if parts are in stock.
- Sediment flush and element replacement: 2 to 4 hours depending on access and drainage needs.
- Tankless repairs involving control boards or heat exchanger descaling: 2 to 6 hours depending on complexity.
- Full diagnostics that uncover multiple issues or require parts ordering may extend timelines by a day or two. Time depends on unit accessibility, age, and parts availability.
Parts commonly replaced during water heater repair
- Heating elements and thermostats (electric tanks)
- Gas control valves, thermocouples, pilot assemblies (gas tanks)
- Anode rod (corrosion protection)
- Temperature and pressure (T&P) relief valve
- Dip tube (cold-water inlet) and expansion tanks when needed
- Control boards, flow sensors, and burners for tankless systems
- Drain valves and pipe fittings
Repair vs replacement guidance for Oakton homes
- Repair is often the right choice when:
- The unit is relatively new (within manufacturer expected life) and a single component has failed.
- The problem is isolated and there is clear value in replacing a specific part.
- Warranty coverage still applies for parts or labor.
- Replacement should be considered when:
- The tank is leaking or shows significant external corrosion.
- The unit is near or past expected service life (typical tank life 8 to 12 years; tankless units often last longer but depend on maintenance).
- Multiple failures occur in short succession or repairs would be frequent and costly.
- You want better energy efficiency, higher recovery rates, or a different fuel or capacity option to match household demand.Local Oakton factors: homes in Oakton may have older plumbing and hard water that shortens tank life; in those cases, replacing with a modern, appropriately sized unit or installing water treatment can improve long-term reliability.
Warranty considerations
- Manufacturer warranties vary by model and component; some parts like tanks have limited warranties while heating elements and control boards may have separate coverage.
- Labor warranties are distinct from manufacturer coverage and vary by service provider.
- Always review the unit serial number and warranty terms before authorizing repairs, since age and prior alterations can affect coverage.
Immediate steps to restore hot water quickly (safety-first)
- Check the circuit breaker and reset if tripped for electric units.
- Verify the gas valve is open and the pilot light is lit on gas units; do not attempt pilot relighting if you smell gas—leave the area and seek professional help.
- Inspect for visible leaks at fittings and the tank base; small fitting leaks may be temporarily tightened, but tank leaks typically require professional evaluation.
- If you are comfortable and have a manual, you can flush a few gallons to remove loose sediment, but avoid full disassembly without training.
- Lower the thermostat to reduce scalding while troubleshooting and to slow pressure and stress on older systems.
Preventive maintenance to reduce future repairs
- Annual tank flush to remove sediment and improve efficiency, especially in areas with hard water.
- Check and replace the sacrificial anode rod every 2 to 4 years depending on water quality.
- Test the T&P valve annually for freedom of movement and proper operation.
- For tankless systems, schedule annual descaling in hard water areas and check venting and ignition components.
- Insulate accessible hot water pipes and consider a jacket for older tanks to reduce standby heat loss during cold Oakton winters.
- Maintain recommended set point (around 120 degrees F) to balance energy use and scald prevention.
Timely diagnosis and repair preserve comfort, prevent property damage, and extend equipment life. In Oakton, where seasonal demands and local water quality affect water heater performance, addressing issues promptly and following a tailored maintenance plan delivers the most reliable hot water for your home.
Trusted Brands.
We partner with industry-leading manufacturers to ensure your plumbing system runs on durable, high-quality parts built to last.


Customer Testimonials
Cherry Blossom Plumbing has consistently provided top-notch service, ensuring every issue is resolved efficiently and professionally.

Service Areas
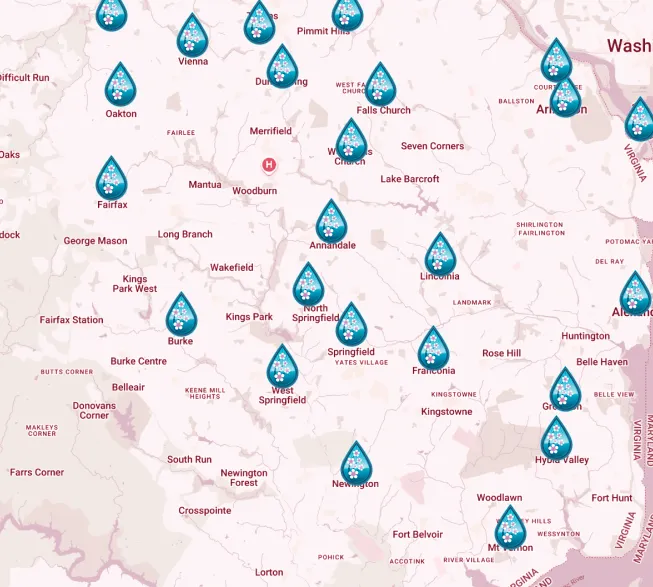
Proudly serving Arlington and the surrounding Virginia communities with fast, reliable plumbing solutions you can count on.


