Toilet repair and replacement services in Hybla Valley, VA address common failures, assess whether repair or replacement is most cost-effective, and guide selection of efficient, hard-water-tolerant models. A technician conducts a structured diagnostic, inspecting components, testing flush performance, and verifying the base seal and flange. Step-by-step installation covers flange prep, new wax ring, secure mounting, and leak testing, followed by warranties and cleanup. Regular maintenance tips help extend life and prevent damage in this aging, humidity-prone area.

Toilet Repair / Replacement in Hybla Valley, VA
A malfunctioning toilet disrupts daily life and can cause hidden water waste or property damage. In Hybla Valley, VA, where many homes combine older plumbing with humid summers and hard water, timely toilet repair or thoughtful replacement preserves comfort, reduces utility bills, and prevents floor or slab damage. This page explains how to identify common toilet problems, when repair is effective versus when full replacement is recommended, what efficient models to consider for Northern Virginia homes, the typical installation process and timeline, expected warranty and cleanup practices, and simple maintenance steps to extend service life.
Common toilet problems in Hybla Valley homes
- Running toilet (continuous fill): noisy, wastes water, often caused by worn flapper, faulty fill valve, or float issues.
- Intermittent or weak flush: partial clogs, mineral buildup in rim jets, or compromised trapway.
- Leaking at base: loose or failed wax/gasket seal, cracked porcelain, or flange problems—risk of water damage to subfloor or slab.
- Cracked tank or bowl: visible cracks require immediate attention to avoid sudden leaks.
- Phased filling or slow refill: debris in fill valve, line pressure issues, or sediment from hard water.
- Toilet that wobbles or rocks: loose bolts, broken flange, or degraded floor mounting.
Diagnostic steps technicians use
A methodical diagnosis determines the correct fix quickly:
- Visual inspection of tank, bowl, and base for cracks, condensation, or pooling water.
- Flush test to observe fill cycle, flush power, and any leaks forming while operating.
- Dye test in tank to detect silent leaks from tank to bowl.
- Check tank components: flapper, chain length, float height, fill valve operation.
- Inspect floor flange and wax ring if base leaks; test for movement and flange corrosion.
- Evaluate water supply line and shutoff valve for leaks or corrosion.
- Examine rim jets and siphon jet for mineral buildup or blockage from hard water.
Repair options vs full replacement
Repair is often the fastest, lowest-disruption solution, but replacement becomes preferable under certain conditions.
Repair when:
- Issue is isolated to internal parts (flapper, fill valve, flush valve).
- Toilet is securely mounted and porcelain is intact.
- Homeowner wants to preserve an otherwise functional fixture.
Replace when:
- Bowl or tank has structural cracks.
- Base leaks persist after replacing gasket and flange repairs.
- Toilet is older, inefficient (pre-water-conservation standards), or part replacement would be frequent and costly.
- You want an upgrade to improve water efficiency, comfort, or accessibility (e.g., taller bowl, comfort-height models).
Recommended models and water-efficiency upgrades
In Hybla Valley, consider models that handle hard water and deliver efficient performance:
- Look for EPA WaterSense-labeled toilets for reliable 1.28 gallons per flush performance without sacrificing flush power.
- Dual-flush or pressure-assist options suit households prioritizing additional water savings.
- One-piece designs reduce crevices where mineral deposits collect and simplify cleaning.
- Ever-clean glazing and robust trapways help maintain flush performance in hard water areas.
- Consider comfort-height bowls for easier use by adults and seniors; elongated bowls increase comfort and flushing efficiency.
Step-by-step installation process (what to expect)
- Pre-install inspection: confirm drain flange condition, rough-in distance, and water supply line location.
- Remove old toilet: shut off water, drain tank and bowl, disconnect supply, unbolt and lift toilet.
- Inspect and prep flange: remove old wax, check or replace flange, install new gasket or wax ring, and ensure a level seat.
- Set new toilet: lower bowl onto wax ring, bolt down securely without overtightening, and level.
- Install tank (if two-piece), connect supply line, and adjust fill valve and flapper/trip to factory settings.
- Test for leaks and perform multiple flush cycles; check for wobble and secure mounting bolts.
- Final adjustments: verify fill level, check seal at base, and clean workspace.
Typical timelines
- Simple repairs (flapper, fill valve, minor adjustments): often completed within one visit, typically under an hour.
- Base/seal replacement or flange repair: can take 1 to 2 hours depending on access and flange condition.
- Full toilet replacement: generally completed in 1 to 3 hours, depending on complexity (two-piece vs one-piece), flange repairs, and whether closet flange or subfloor work is required.
- If additional plumbing or subfloor repair is needed, plan for added time to secure materials and allow for any drying or curing.
Warranty and cleanup practices
Standard professional service expectations:
- Parts warranty: most new components and toilets come with manufacturer warranties; typical coverage varies by part and brand.
- Workmanship warranty: reputable services often provide a limited warranty on installation and repairs to cover defects resulting from the work performed.
- Cleanup: technicians should remove old fixtures and debris, vacuum or mop the work area, and leave the space ready for normal use.
- Documentation: expect a written summary of replacements or repairs performed and details on any warranties or recommended follow-up.
Maintenance tips to extend service life
- Replace flapper and fill valve proactively every few years or at first sign of wear.
- Use a gentle, non-abrasive cleaner to minimize damage to glaze and seals; avoid harsh chemicals that degrade rubber components.
- Flush cleaners with caution; some in-tank cleaners accelerate deterioration of internal parts.
- Periodically clean rim jets and siphon jet with a brush to maintain flush strength in hard water conditions.
- Check mounting bolts and base for movement and signs of moisture; address even minor base leaks quickly to avoid bigger repairs.
Why timely action matters in Hybla Valley
Hybla Valley’s mix of older homes and seasonal humidity can accelerate seal wear and mineral buildup. Prompt diagnosis and the right choice between repair and replacement save water, reduce the risk of floor or slab damage, and improve household comfort. Upgrading to a water-efficient, durable model tailored to local water conditions also contributes to long-term savings on water bills and fewer service calls.
Choosing the appropriate solution starts with a careful diagnostic assessment focused on the specific issue, the home’s plumbing condition, and long-term goals for efficiency and reliability. This ensures the repair or replacement you choose returns dependable performance for years in Hybla Valley homes.
Trusted Brands.
We partner with industry-leading manufacturers to ensure your plumbing system runs on durable, high-quality parts built to last.


Customer Testimonials
Cherry Blossom Plumbing has consistently provided top-notch service, ensuring every issue is resolved efficiently and professionally.

Service Areas
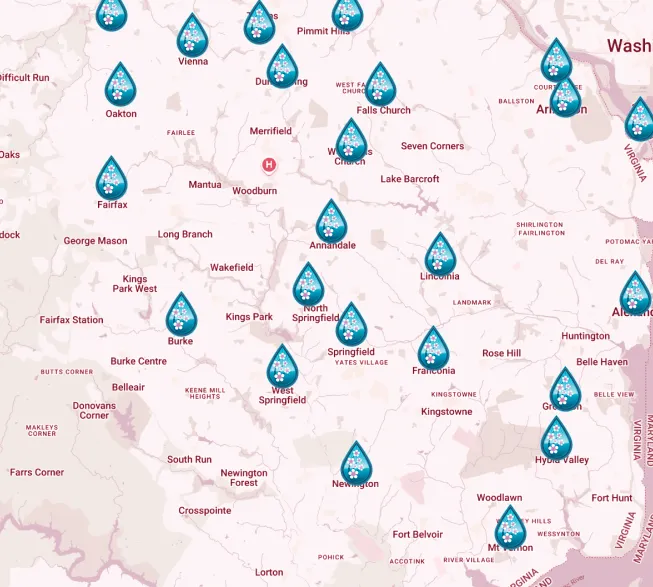
Proudly serving Arlington and the surrounding Virginia communities with fast, reliable plumbing solutions you can count on.


